A distressed and antiqued piece of furniture can add a unique charm to any room. And if you do it yourself, the process of distressing and antiquing furniture is relatively inexpensive. And best of all, it’s not really difficult! With a bit of liquid sander/deglosser, spray primer, spray paint, sandpaper, and stain, you can turn virtually any piece of wood furniture into a beautiful heirloom-quality treasure.
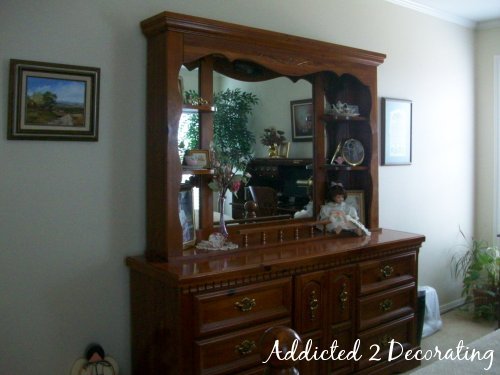
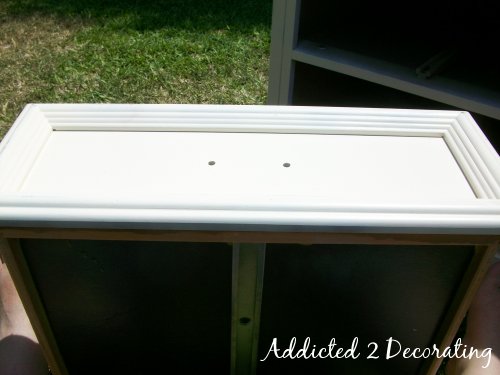
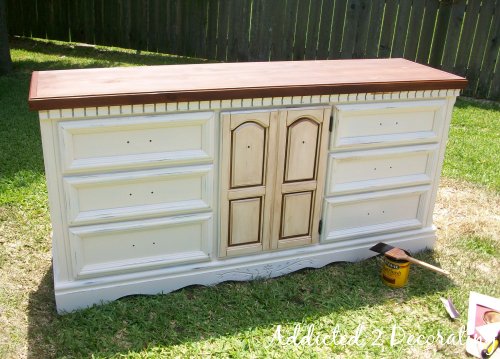
So, let’s get started! We’ll turn this…
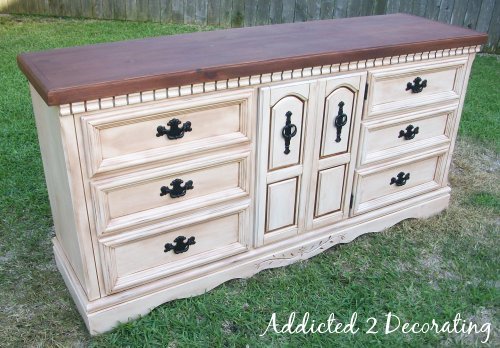
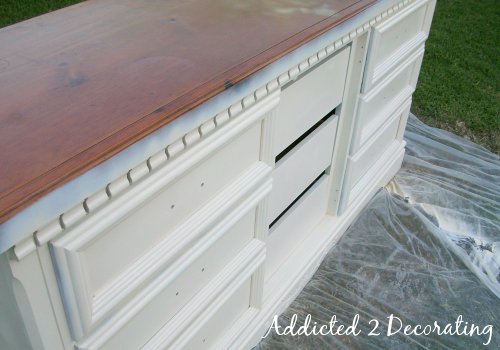
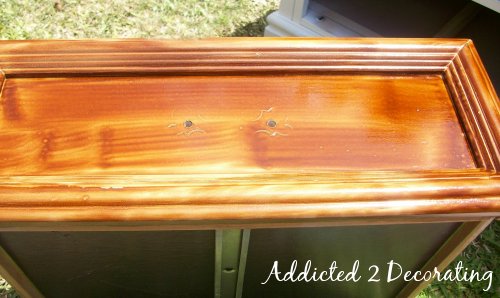
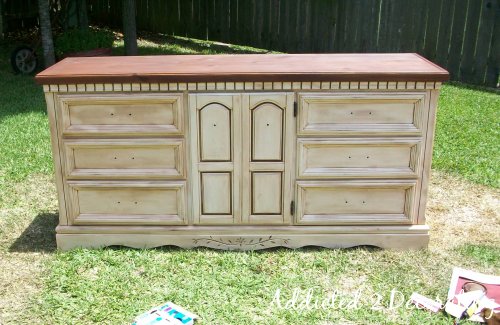
…into this…
Project Cost:
Approximately $55 + cost of furniture piece
Tools & Materials:
- A piece of wood furniture that needs a facelift (it needs to be solid wood or wood veneer–this process won’t work on a laminated surface);
- Liquid sander/deglosser;
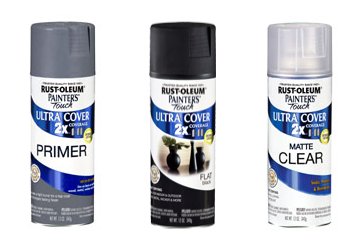
- Spray primer (the dresser shown required two cans of spray primer);
- Spray paint for dresser (the dresser shown required two cans of spray paint. I used Rustoleum’s Heirloom White in a satin finish–I wouldn’t recommend a flat finish, as it may soak up way too much stain during the antiquing process);
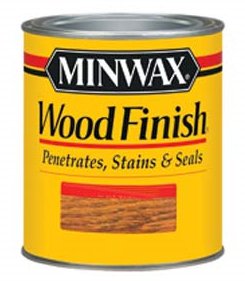
- Stain in your choice of color (I used oil-based Minwax English Chestnut;
- Spray paint for drawer hardware (I used Rustoleum in flat black);
- Clear spray sealer (I used Rustoleum in a matte finish);
- Optional–polyurethane (needed if you’re going to stain the top as shown);
- Rags (use old ones that you no longer want, or purchase cheap ones from the paint department of Home Depot or Lowe’s);
- Electric sander with 80-grit sandpaper and 150-grit sandpaper;
- Standard 150-grit sandpaper;
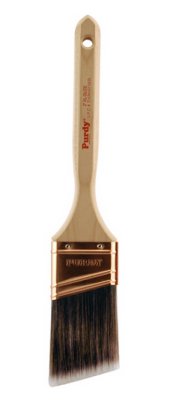
- Paint brush;
- Piece of cardboard, approximately 12″ square; and,
- Foam brush (if staining the top).
Instructions:
1. Remove all hardware from furniture, and be sure that the piece of furniture is clean.
2. Using a dry rag, apply the liquid sander/deglosser according to the manufacturer’s instructions on the container. If you are going to stain the top, there’s no need to use deglosser on the top.

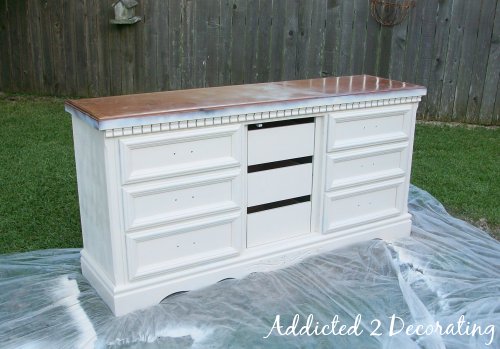
3. After the surfaces are adequately deglossed according to the manufacturer’s instructions, apply the spray primer. On the drawers, use a piece of cardboard under the edges of the drawer fronts to avoid excessive overspray.
4. After the surfaces are primed, follow with the spray paint. Be sure to read the manufacturer’s instructions on the paint. Spray paints generally have specific guidelines regarding dry times and recoating. Ignoring these guidelines could result in your paint finish wrinkling, cracking, or peeling.
**Note: If you are going to stain the top, there’s no need to worry about overspray on the top.
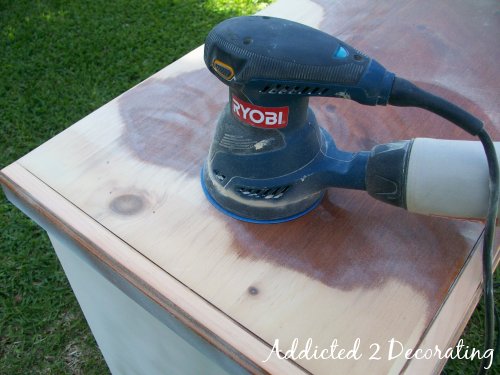
5. If you’re staining the top of your furniture piece, use an electric sander to strip the top. Begin with 80-grit sandpaper to remove the factory finish and get down to bare wood, and follow up with 150-grit sandpaper to smooth the surface.
**Note: Be careful not to sand TOO much!! More than likely, your furniture top will be made of wood veneer over particle board or plywood. Wood veneer is not thick, so if you sand too much, you will expose the particle board underneath.
6. Use standard sandpaper to manually remove the finish from any areas that can’t be reached with the electric sander.

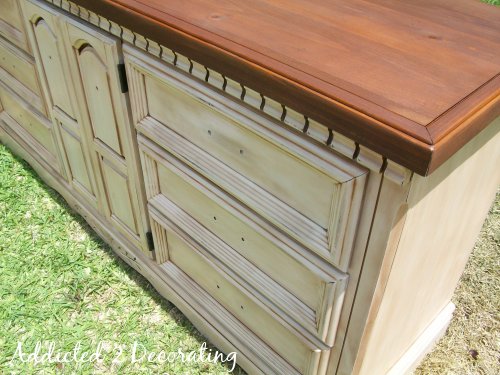
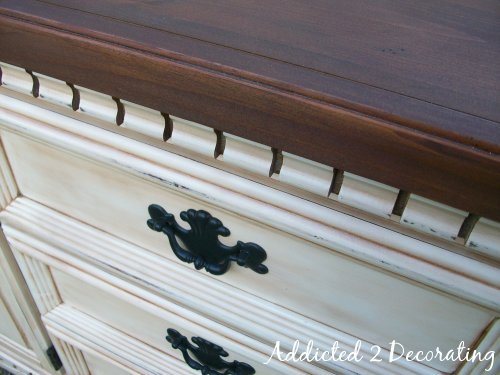
7. Use this sandpaper to distress the painted finish. When distressing the paint, the key to achieving a natural look is to remove the paint in areas where natural wear would occur–raised areas, corners, areas around handles and/or knobs. You can distress as much or as little as you want. I prefer a “less is more” approach, as shown below.
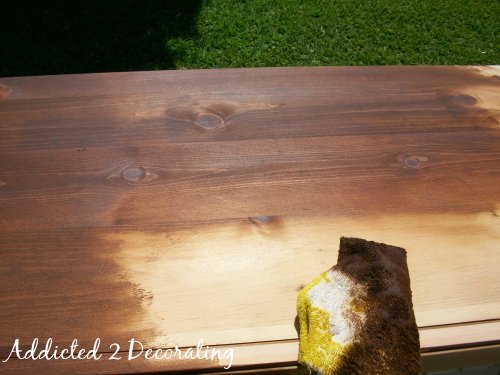
8. Using a rag, apply stain evenly to the top. Use according to manufacturer’s directions if you want to use more than one coat of stain.
9. Next, it’s time to antique the painted areas. If you placed the drawers back in the base after painting, you’ll need to remove all of the drawers.
10. Using a paint brush and stain, apply stain to the entire drawer face.
11. Using a rag, wipe the stain off of the drawer front. This process may require the use of a couple of rags. I like to use two: one for the initial removal of stain, and another reserved for the final “buffing”. Be sure that you don’t remove too much stain. The key is to leave it settled in cracks and crevices, while raised areas and flat areas will be left with only a very slight tint of stain.
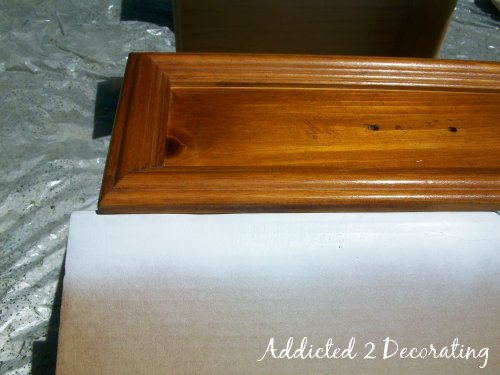
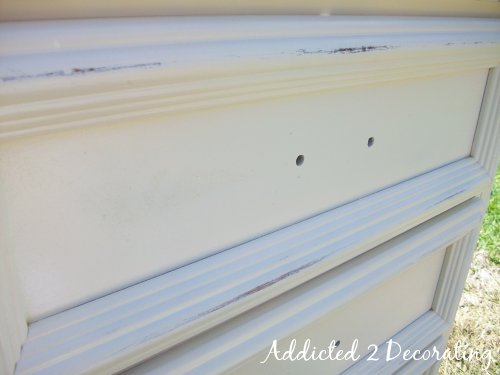
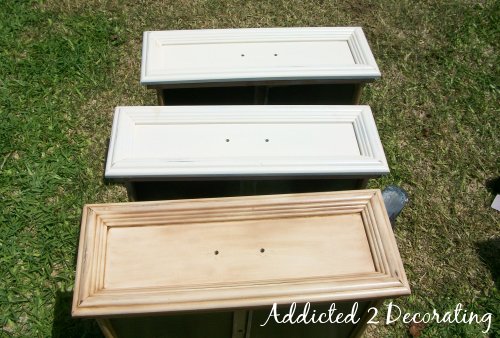
You can see a comparison of an antiqued drawer with two non-antiqued drawers below.
The door on the front of this dresser is a good example of how stain will settle in deeply recessed areas.
12. Continue the staining/wiping process until the while furniture piece is antiqued.
13. To give the drawer pulls a fresh look, start with a coat of primer, followed by a coat of spray paint, and ending with one or two coats of clear sealer.
14. Finally, use a foam brush to apply at least two coats of polyurethane to the top of the furniture piece. Be sure to follow manufacturer’s instructions regarding dry times and recoating.
Variation:
If you prefer to paint the top, rather than stain the top, you can follow the same instructions for painting the base and doors/drawers of the piece. However, after painting and antiquing the top, you will need to use at least two coats of NON-YELLOWING polyurethane. Be sure that the product says specifically that it’s non-yellowing, or the top of the piece will be a different color from the base.
One Comment
Comments are closed.