J & A Family Room:: A Progress Report
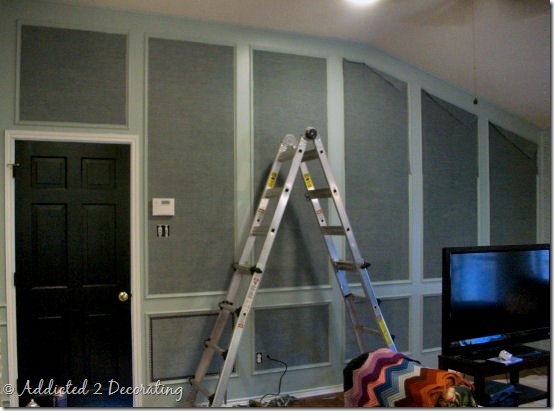
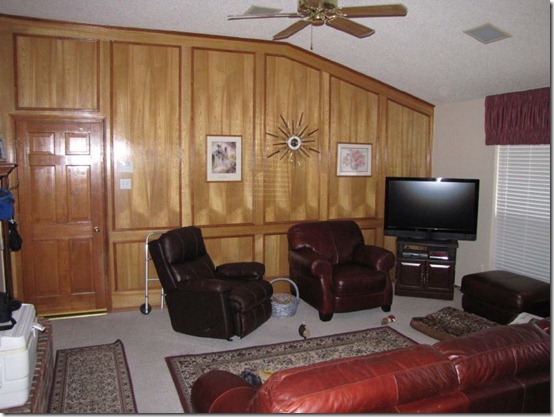
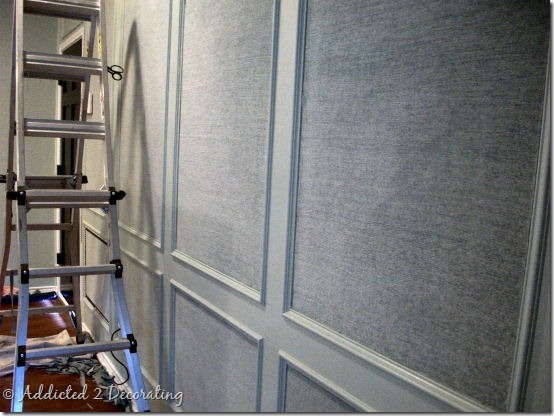
Things are moving along in John & Alice’s family room. The “great wall” has finally been completely covered. It’s still far from finished, but at least there’s no longer any hint of orange-brown oak showing.
As you can see, I didn’t get all of the excess fabric trimmed yet, but it’ll get there.
Even in its unfinished state, it’s still quite an improvement over the original, isn’t it?!
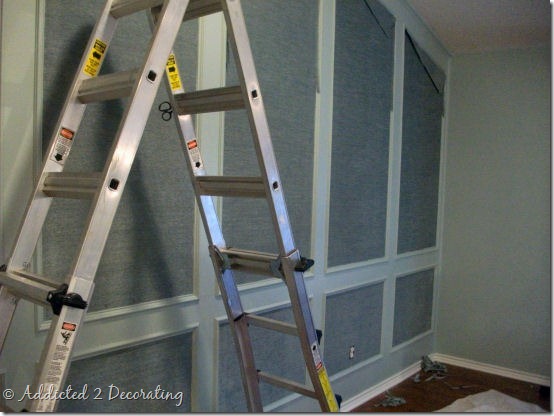
I’m really pleased with how it’s turning out, but I’m still amazed at how different this fabric looks in different lighting and from different angles. From one side, it looks quite dark…
But from the other side, it looks very light…almost the same color as the wall…
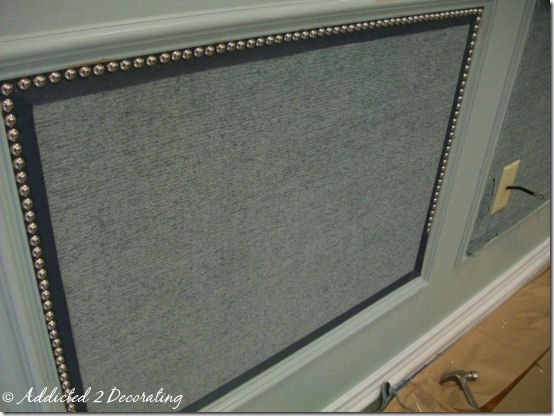
I’ve had a bit of a change of heart about the nail head trim. Remember how I was using these small silver nailheads (the same ones I used on my headboard)?
Well, I’ve decided that I want to use a different kind of nail head trim. These just weren’t cutting it for me.
Instead, I’m going to use this much larger one (13/16”) in a antique pewter finish.
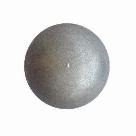
So, it’ll be a bit of a pain to take those silver nail heads out, but I think it’ll be worth it in the end. Hopefully today I can get all of the dark gray trim attached, and then I’ll have to wait for the nails to arrive to finish up the wall. But that’s okay, because while I’m waiting, I have plenty of other projects I need to finish!!
Addicted 2 Decorating is where I share my DIY and decorating journey as I remodel and decorate the 1948 fixer upper that my husband, Matt, and I bought in 2013. Matt has M.S. and is unable to do physical work, so I do the majority of the work on the house by myself. You can learn more about me here.



I agree with the new choice of nail head trim. Can't wait to see the final product.
That really looks amazing. You have such vision!
Looks much better and I think the new nail head trim will look much better too. Good choice. Love the colors. Violet
I love that you are not afraid to change if you feel you have found a better option.
Ooooh love the new nail heads!! Those will look fabulous. 😀 Also, the whole wall looks SO much more sophisticated than the old version!!
This is such a great idea for updating that awful paneling. I may have to steal this one!! I'm excited to see the finished room!
How did you make sure the nailhead trim was lined up properly?
Courtney, I actually ended up omitting the nailhead trim from the final design. However, the ones that you see pictured above were lined up using a nailhead trim tool that is made of plastic, is very inexpensive, and helps you line the nailheads up almost perfectly. You can see the tool better in this post on the second-to-last picture: http://blog.addicted2decorating.com/2010/10/headboard-with-nailhead-trimtake-two.html
Looks great! I was actually planning the same project and I was wondering how you got the edges on the fabric to looked finished next to the moldings? It’s hard to see from the pictures! Also did you put batting beneath the fabric or just glued it to the wood panels? Thanks!!